A brief guide for growers
Many growers often wonder why potting mix and other bagged growing mediums use litres as a unit of measurement when they are clearly not liquid.
The reason why potting mix, soil improvers and growing media are sold by volume is because the moisture varies between batches and reduces over time as the product is transported and stored, significantly affecting the weight of the bag. For example, a 10% reduction in moisture content may change the weight of a small 25L bag by about 1-2kg depending on the mix composition.
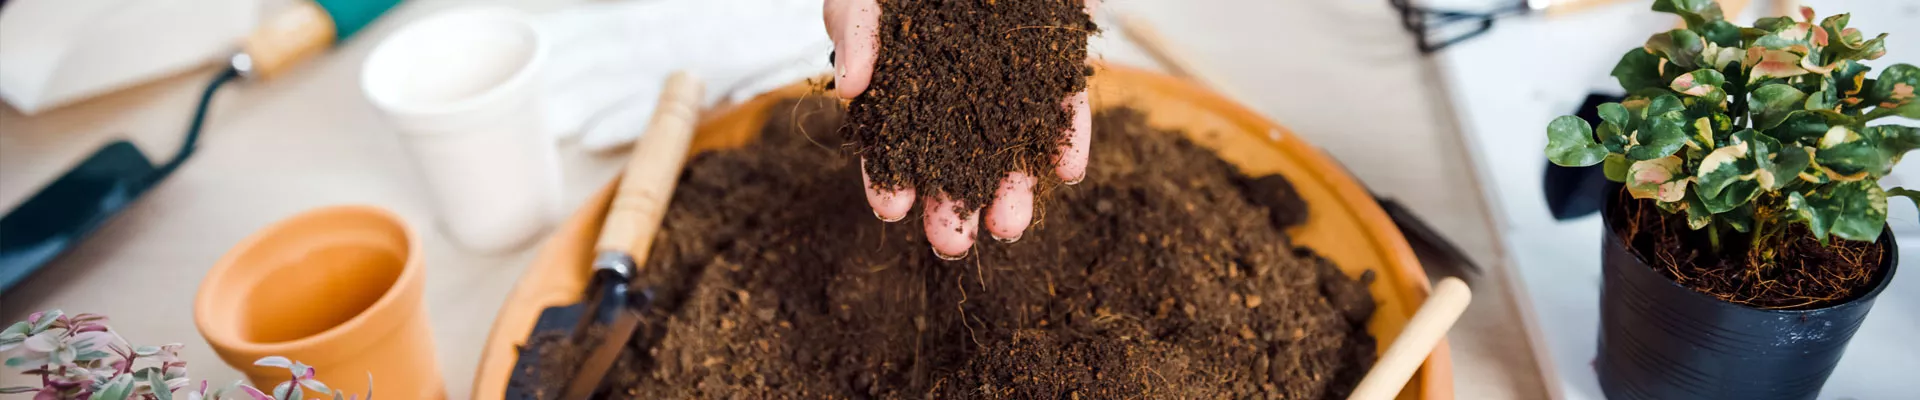
Bagged organic matter should be stable and shouldn't breakdown much in the month(s) between production and use by the consumer. But when the potting mix is added to a bag, it's calculated as loose volume. If the bags are placed on pallets and stacked, the mix will be compacted, which is why bags often look smaller when you purchase them. This loss of volume through compaction can be easily overcome by loosening up the potting mix when the bag is opened and before using—and this 'loosening up' process is also the key to correctly calculating the amount of mix you want to use and subsequent calculations you may need to make about fertiliser and watering.
For the cultivation of plants, it is the volume of the product, and not the weight, that is generally important. The volume is calculated from knowing the weight and bulk density of the product, the latter being determined from weighing a known reference volume of product. The principle is that any weight should be accompanied by the moisture content so that the solid matter content can be calculated. As some soil improvers and growing media are compressible (and some may be presented in compressed blocks or bales), it is important that this aspect be addressed in the method of determining the bulk density.
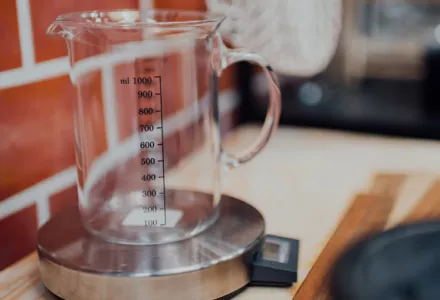
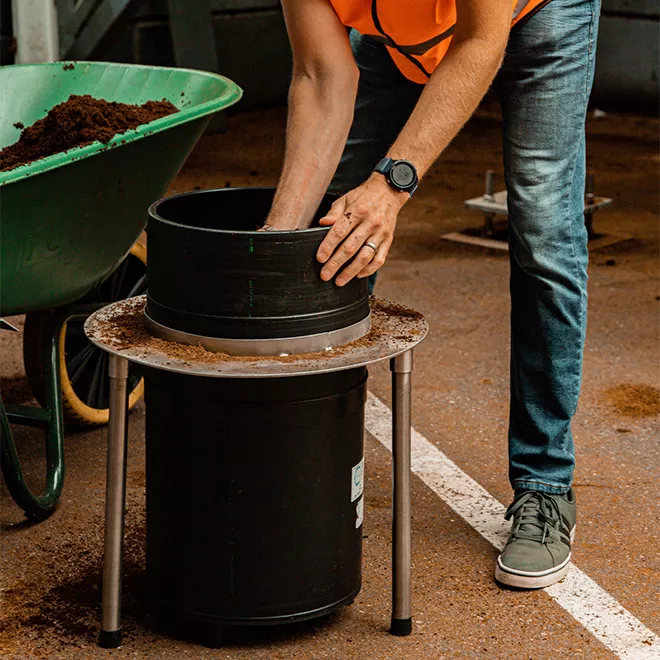
The most important aspect of this process is that you make use of a 'fall container' (including a sieve)—with a collar and a calibrated measuring cylinder of 20L. Because the mix passes through the sieve and falls down the container the material becomes looser and provides a more accurate and standardised measurement of your substrate's volume.
When measuring the volume of a substrate it´s also important to do so with a standard method (CANNA uses the EN 12580 norm), so that you can get accurate results.
It can be tricky to understand, but with this brief guide, we hope to make the process of measuring the volume and bulk density of your growing media much simpler.
Procedure
- Using an appropriate weighing instrument, determine the gross weight of the material and note the mass m1. This and all subsequent weighings are recorded in grams.
- Determine the tare weight (e.g. of the bags, containers, truck or train) and note the mass m2. The net weight of the material is calculated as (m1 – m2). Alternatively, the net weight of each product can be determined directly.
- Weigh the measuring cylinder, note the mass m3, and assemble the collar on the cylinder. Place the equipment on a stable horizontal surface so that it does not rock.
- Determine which fall controller to use. Using some of the material, see which is the smallest mesh which will retain less than 10 % (V/V) of the material, after the material has been moved about. If more than 10 % (V/V) is retained on the 60 mm mesh this method is not suitable for the product.
- Tip a portion of not more than 5 l of the final sample over the fall controller and move the material (without degrading it) to allow it to pass through the fall controller. Where any material retained by the fall controller restricts the falling of material into the cylinder then it shall be gently emptied into the measure before adding the next portion. Further portions shall be treated in a similar manner until the measuring cylinder and collar are full and the top of the material is touching the mesh in the fall controller to ensure that there is sufficient material to level it off at the top of the collar.
- Level off the material at the top of the collar and remove the collar. Using a light sawing action (to avoid compaction) work the straight-edge through the middle of the product down one diameter of the measuring cylinder, to the top of the cylinder. Remove the surplus material by moving the straight edge to the edge of the measure. Care shall be taken not to drag fibrous or lumpy material from below the top of the measure. Repeat this operation in the opposite direction to remove the surplus material until the material is level with the top of the measure. In the case where hollows have been created, these shall be re-filled using some of the discarded material.
- Weigh the measuring cylinder and its contents, and note the mass m4.
Apparatus
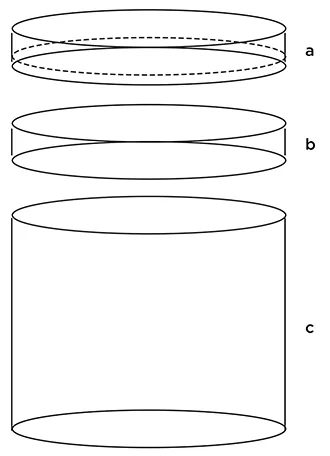
A: The Fall controller | B: The Collar | C: The Measuring cylinder
1. Measuring cylinder, rigid, 20 l ± 0,4 l with a height to diameter ratio between 0,9:1 and 1.1.
The volume V 1 shall be known to the nearest 10 ml at 20 °C, with an uncertainty of measurement (k = 2) of no more than 50 ml.
A standard 300 mm internal diameter pipe of height 283 mm with an end cap can be suitable. The apparent weight of 1 l of water at 20 °C is 997,15 g. Therefore no air buoyancy correction needs to be made.
NOTE: Information about the measurement and expression of uncertainty is given in the OIML Guide (G1) to the expression of uncertainty in measurement (sometimes referred to as GUM).
2. Collar, rigid, of the same diameter as the measuring cylinder (6.1) and with a height of 75 mm ± 2 mm.
3. Fall controller, of either 20 mm ± 0,6 mm or 40 mm ± 1,3 mm or 60 mm ± 2 mm mesh size as required (see 9.5), held not more than 50 mm above the collar, equipped with locating lugs to enable it to sit on the collar correctly without friction.
NOTE: Wires crossing each other at right angles form the mesh with the appropriately sized square holes.
Ideally the fall controller should be separated from the measure to avoid jogging or vibrating material in the measure during the filling process.
NOTE 1
For convenience and ease of use it is advisable to have 3 handles on the cylinder and 2 on the filling collar and the fall controllers.
NOTE 2
For stability it is useful to have three short legs/feet on the base of the measuring cylinder.
Calculations and formulas
Bulk density
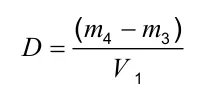
Calculate the bulk density of the material (D), in grams per litre using the following formula;
where:
- m 3 is the mass in grams of the measuring cylinder (5.1);
- m 4 is the mass in grams of the measuring cylinder (5.1) and its contents;
- V 1 is the volume in litres of the measuring cylinder (5.1) determined to the nearest 10 ml.
Volume
Calculate the volume of the material (V 2 ) in litres, using the following formula:
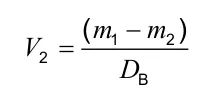
where:
- m 1 (gross weight) is the mass in grams of the sampled portion plus packaging/lorry;
- m 2 (tare weight) is the mass in grams of the packaging/lorry;
- DB is the bulk density calculated in accordance with the previous formula
- NB. 1 000 l = 1 m
After using this procedure, the accurate volume for growing mediums is determined and all sampling is recorded according to international standards.
While this is a shortened version of the full procedure for measuring volume of growing mediums, we hope that it is enough information to understand the procedure.